Bathroom Tip Wednesdays
What are the different flooring options that are the best for your bathroom. These are in no specific order: – Natural Stone Tiles – Hardwood – Ceramic or Porcelain Tile – Cork – Vinyl We Love the look and feel of all of these and they make a great addition to any bathroom
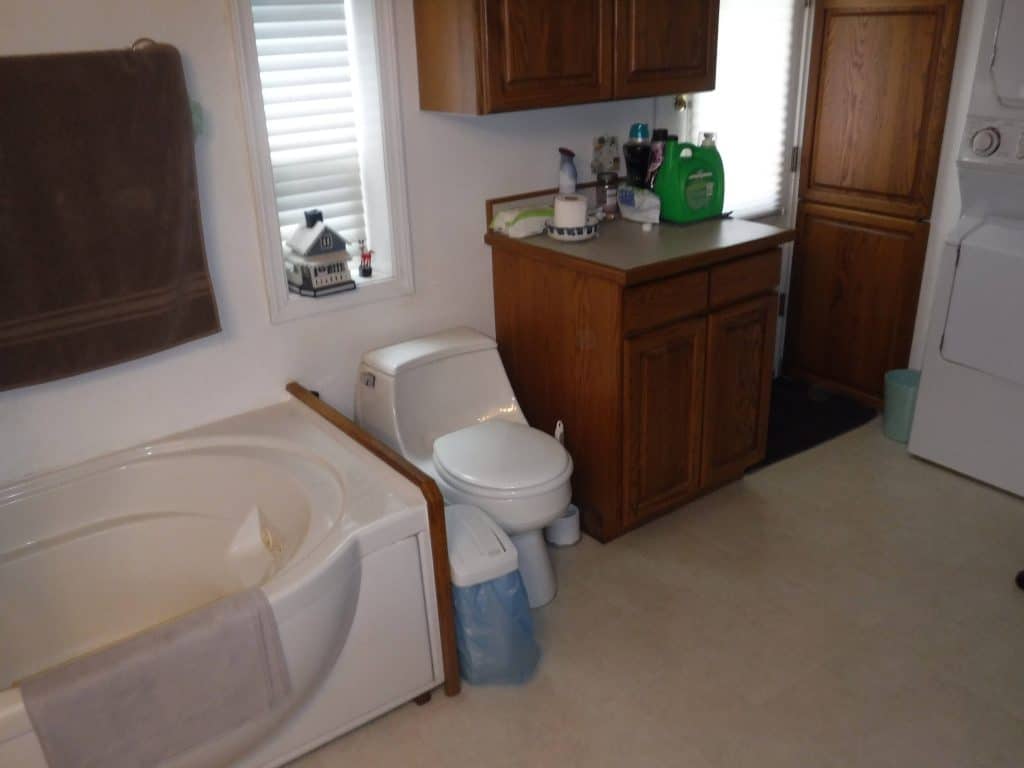
Bathroom Tip Wednesdays

Today we discuss great ways to do very simple updates to your bathroom on a budget. One way to make a very simple change to the bathroom is to upgrade your current tiles. If painting the tiles or grout repair does not work, you can replace tile in small sections. maybe around the sink or […]
10 Dream Kitchen Design Elements if you Love to Entertain
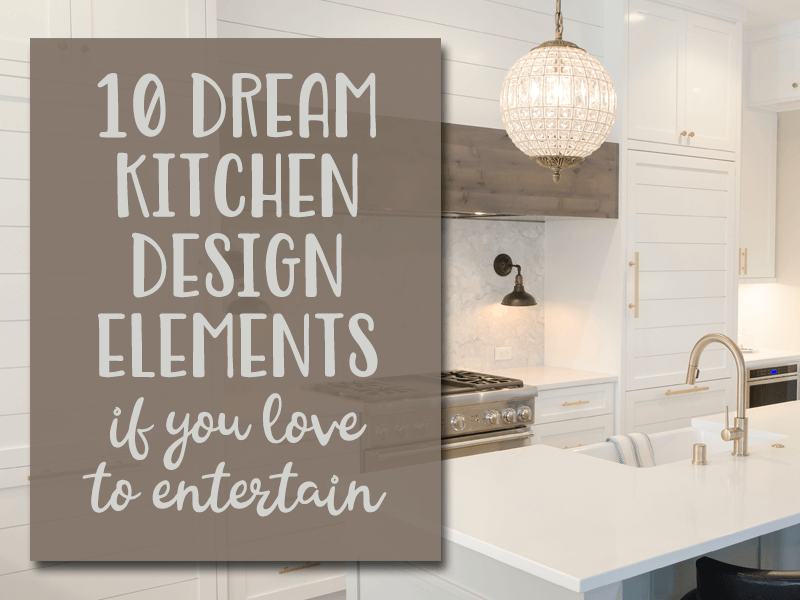
Find out how you can transform the heart of the house into a luxury dream kitchen with small renovations and adjustments.
9 Quick & Easy Tips for Updating your Bathroom on a Budget
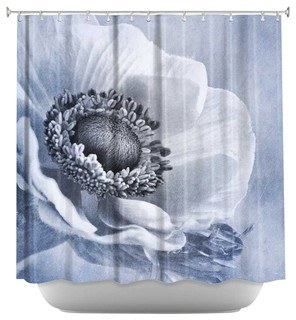
Find out what fabulous renovations you can bring to your bathroom on a budget, with these 9 quick & easy tips.
16 Ways to Maximize the Potential of a Small Bathroom
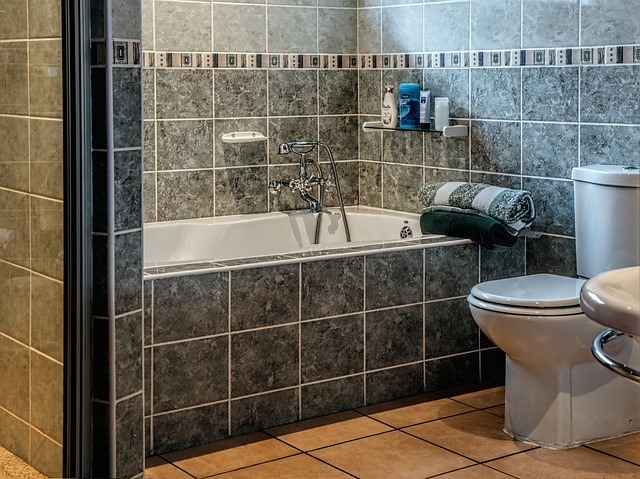
What word best describes your bathroom? If it’s somewhere in the vicinity of “small”, “tiny”, or “minuscule”, then you may feel very limited in your renovation options. In fact, there is a lot you can do to make your small bathroom feel bigger. Read on for 16 of our favorite tips.